Best Of The Best Info About How To Increase At End Of Row

How To Add Knit Stitches At The End Of Row (2 Methods - One For Each End!) Youtube

How To Increase Stitches At The End Of A Row - Drops Lessons / Knitting Basics

Knitting Increase: Kf&b - Youtube
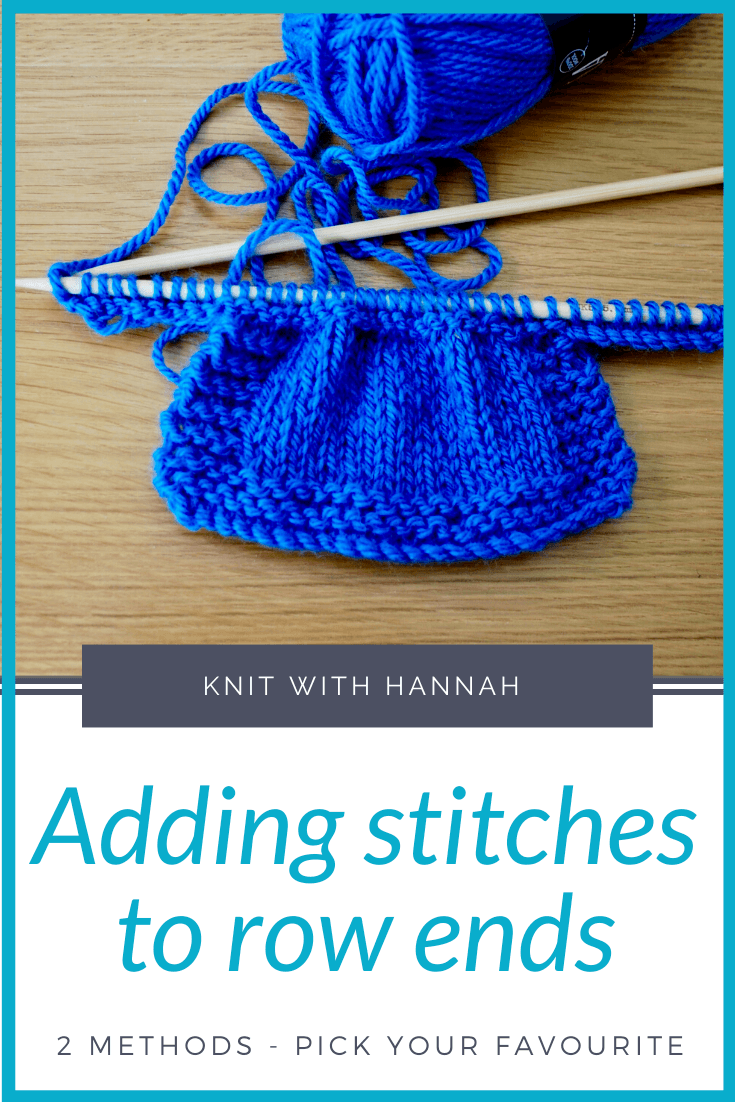
How To Add Stitches The End Of A Row - Knit With Hannah
Increasing Multiple Stitches At The End Of A Row. - Knitting Patterns Blog From Sweaterbabe.com

How To Crochet "increase At The End Of A Row" - Youtube
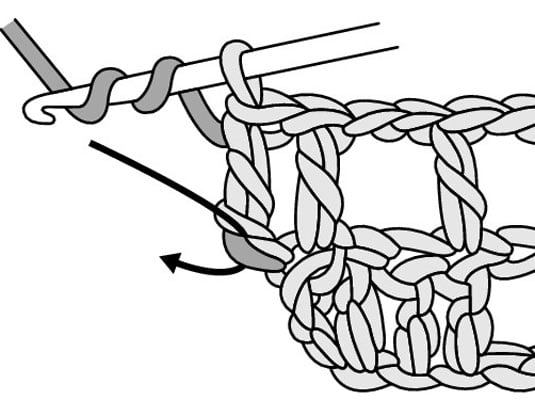
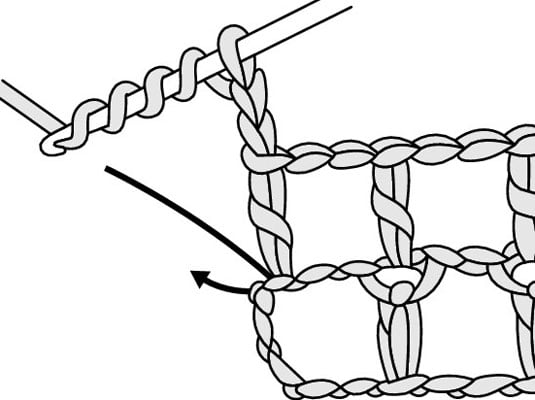
Yarn over and draw the yarn through the stitch.
How to increase at end of row. Basically, you are knitting two stitches like normal, but the first time you knit a stitch you do not slip the stitch off the left needle. Make 1 (m1) this increase is created within a row and leaves a clean angled edge. Increase one block at the end of a row:
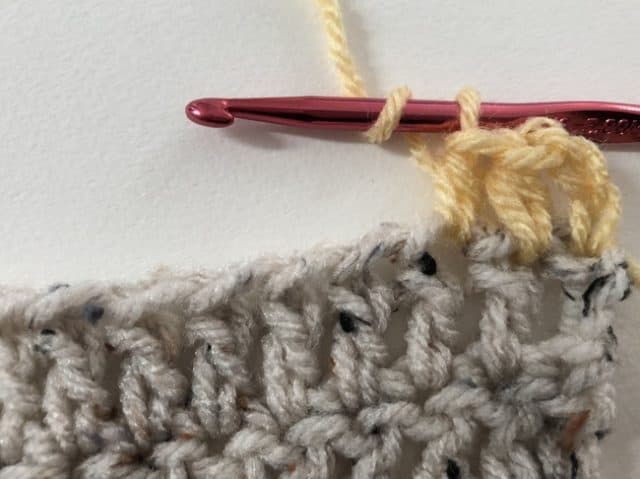
Since decreasing or increasing all at the beginning or end of a row would lead to puckering, you would want to spread the decreases out over the length of the row. Repeat step 5 three times until you have 1 loop on the hook,. When you increase blocks at the end of a row, make sure that you don’t tighten up too much on your stitches.
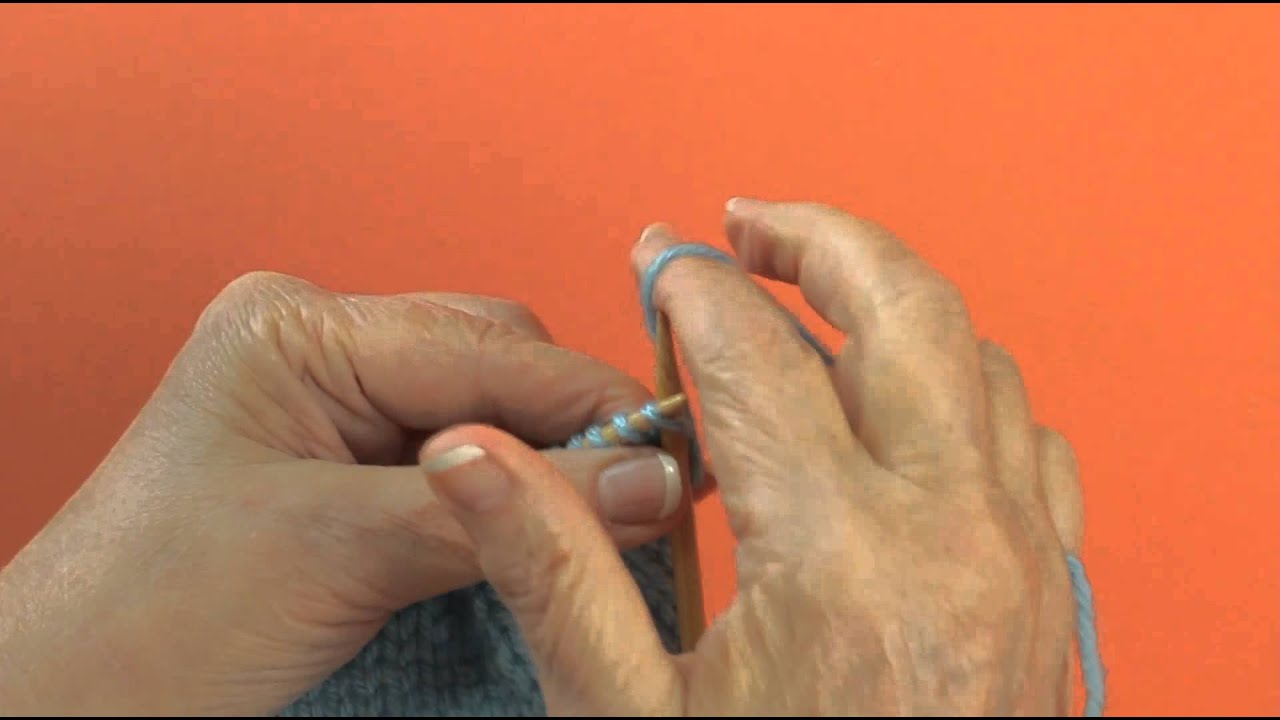
If you want to shape your knitwear, maybe cast on new stitches at the end of a row for example for sleeves, you work as follows: Here’s is how to increase a stitch in knitting at the end of a row: At the end of the row, add another stitch by moving the last stitch to the empty peg outward.

How To Increase Stitches In Pattern - 10 Rows A Day

How To Increase Stitches In Pattern - 10 Rows A Day
Adding On New Stitches At End Of A Row Knitting - Youtube
Increase Blocks At The End Of A Row In Filet Crochet - Dummies
Increasing Multiple Stitches At The End Of A Row. - Knitting Patterns Blog From Sweaterbabe.com
Increase One Or More Spaces At The End Of A Row In Filet Crochet - Dummies
Increasing Multiple Stitches At The End Of A Row. - Knitting Patterns Blog From Sweaterbabe.com
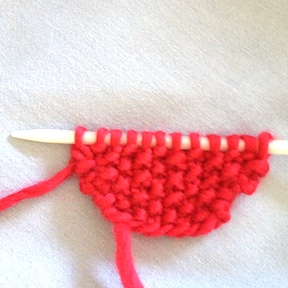
How To Increase At The End Of A Row When Doing Seed (moss) Stitch.

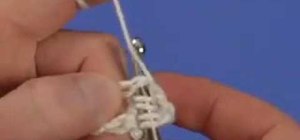
Decreasing One Stitch At Each End Of The Row Ftp - Youtube
How To Increase Two Open Squares At The End Of A Crochet Row « Knitting & :: Wonderhowto


How To Increase On A Purl Row In Knitting (7 Ways Stitches) - Youtube
Ajt6n5d6du8ylm
